最近想把电脑系统换成Linux系统,所以搭个LNMP环境,熟悉下Linux,再尝试一下安全加固
0.准备
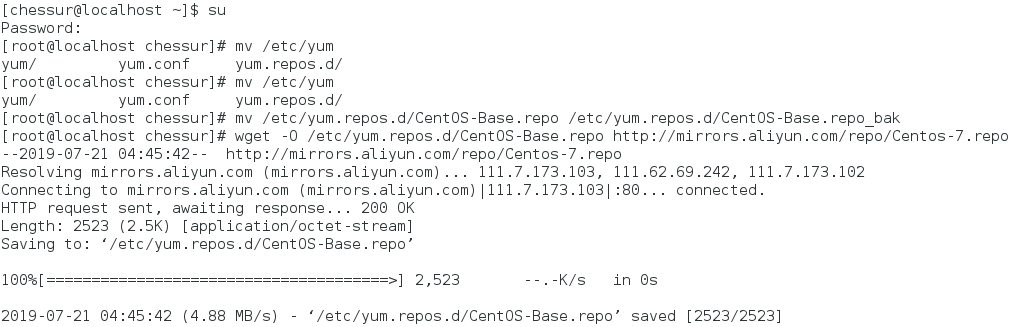
0.1更改Yum源
1 | mv /etc/yum.repos.d/CentOS-Base.repo /etc/yum.repos.d/CentOS-Base.repo_bak |
参考:
[1] Centos-7修改yum源为国内的yum源
0.2更新
1 | yum -y update |
1.安装Nginx
1.1添加Yum源
默认情况下CentOS中无Nginx的源
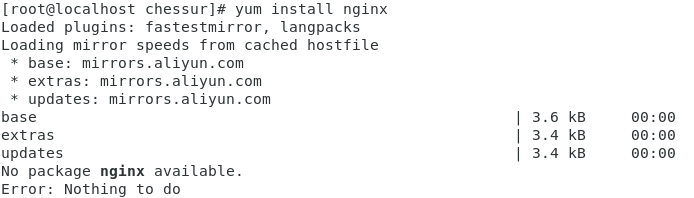
需要自己添加Yum源来进行下载
1 | rpm -Uvh http://nginx.org/packages/centos/7/noarch/RPMS/nginx-release-centos-7-0.el7.ngx.noarch.rpm |

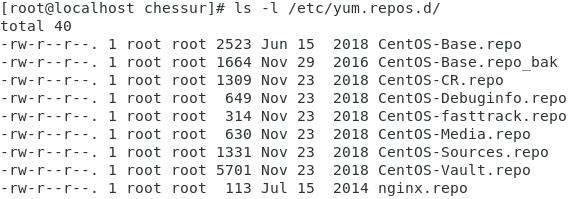
执行完成之后,会在/etc/yum.respos.d下多出一个nginx.repo
再执行命令进行安装
1 | yum install -y nginx |
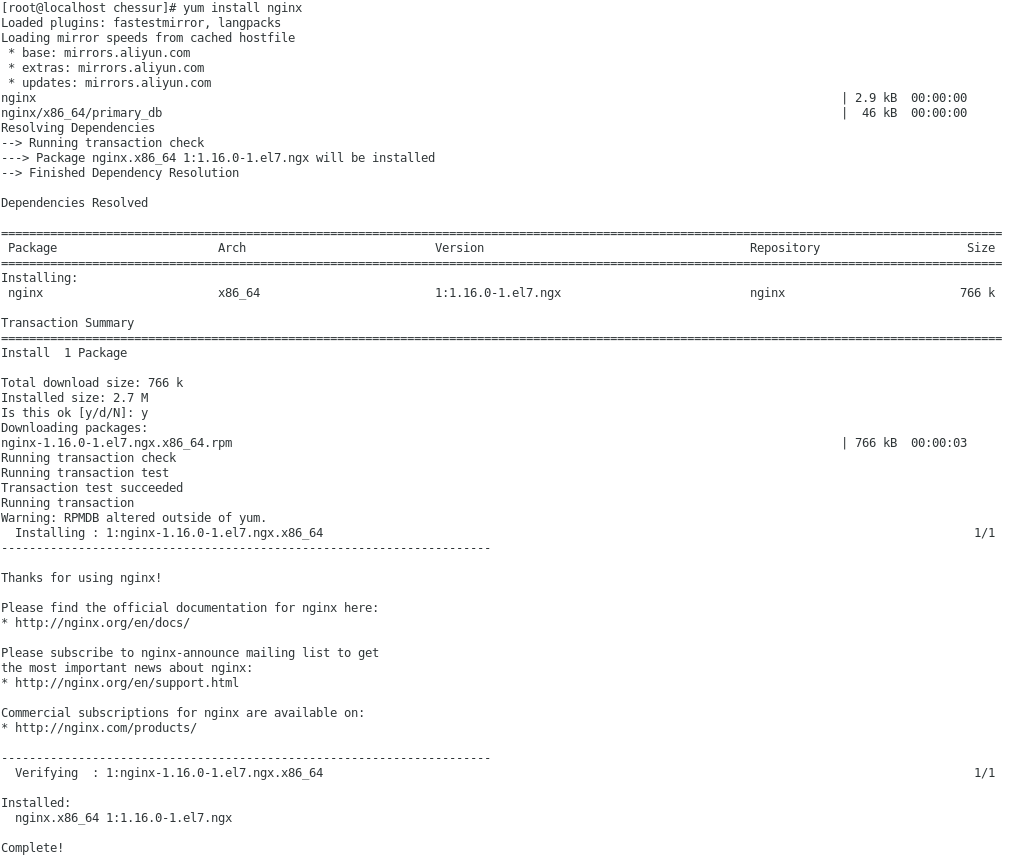
安装完成之后,查看nginx的安装目录
1 | whereis nginx |

Nginx的默认路径
Nginx配置路径:/etc/nginx/
PID目录:/var/run/nginx.pid
错误日志:/var/log/nginx/error.log
访问日志:/var/log/nginx/access.log
默认站点目录:/usr/share/nginx/html
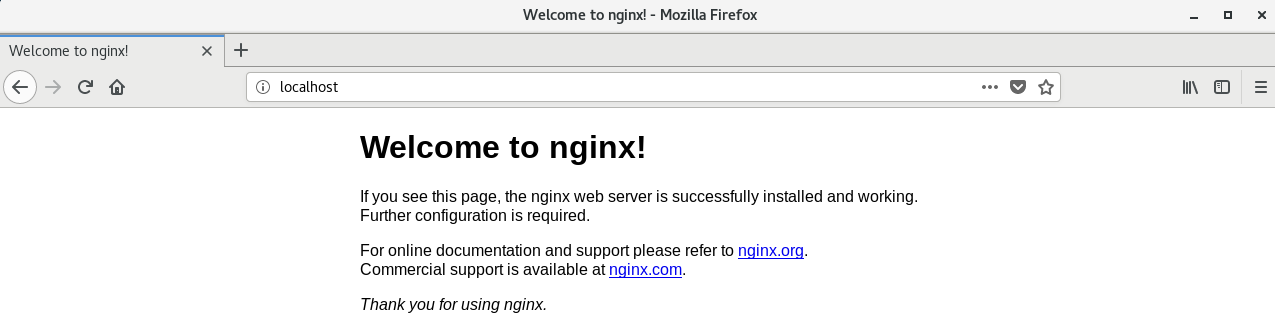
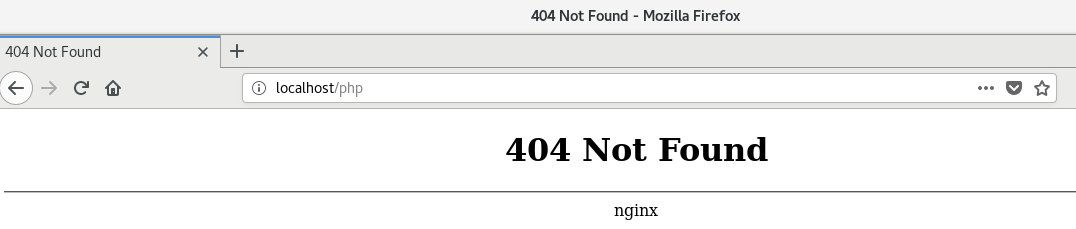
浏览器查看
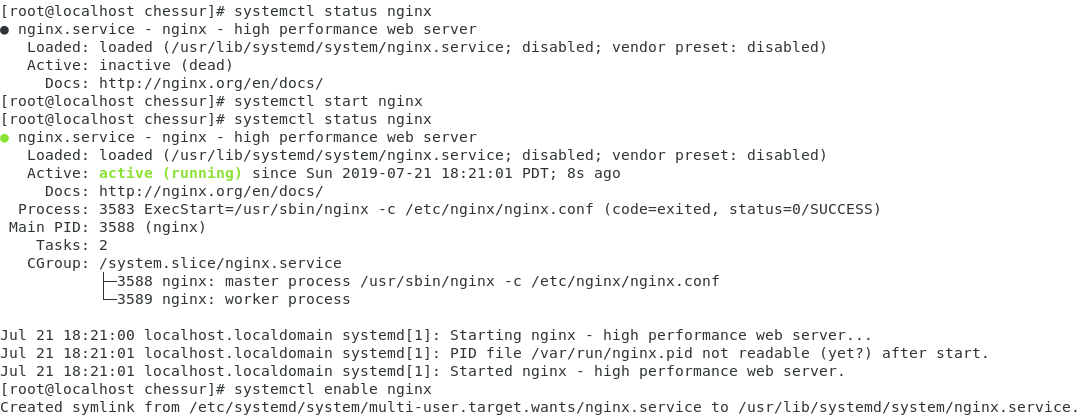
启动Nginx并设置开机自动启动
1 | systemctl status nginx |
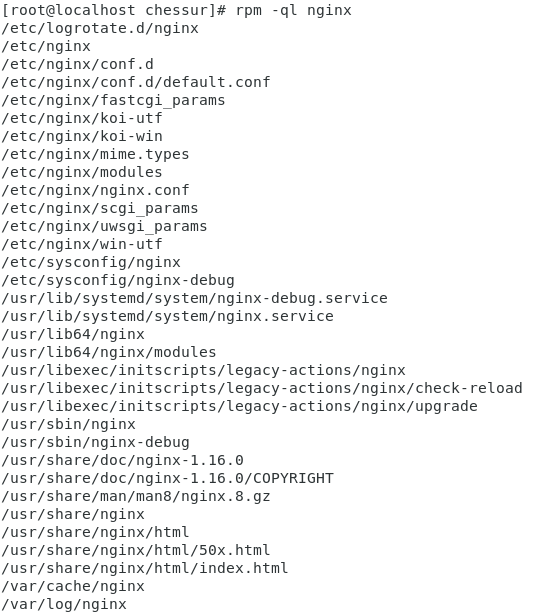
查看Nginx的安装路径
1 | rpm -ql nginx |
卸载的时候可以使用
1 | rpm -e nginx |
源码安装和Yum安装的区别
a.Yum安装可以直接使用systemctl status nginx;源码安装需要自己创建软链接
b.Yum安装会创建很多目录,卸载时比较麻烦;源码安装可以自己设定参数,卸载时直接删除目录
c.Yum安装由于源的问题,可能不是最新版本;源码安装可自行选择安装版本
参考:
[1] centos7通过yum安装nginx
[2] CentOS7中使用yum安装Nginx的方法
[3] CentOS7yum或源码包安装Nginx的异同(有具体安装过程)
[4] How to install and use Nginx on CentOS 7 / RHEL 7
2.安装PHP-fpm
2.1安装php
安装epel源
1 | yum install epel-release |

安装这个软件包后,会自动配置Yum的软件仓库
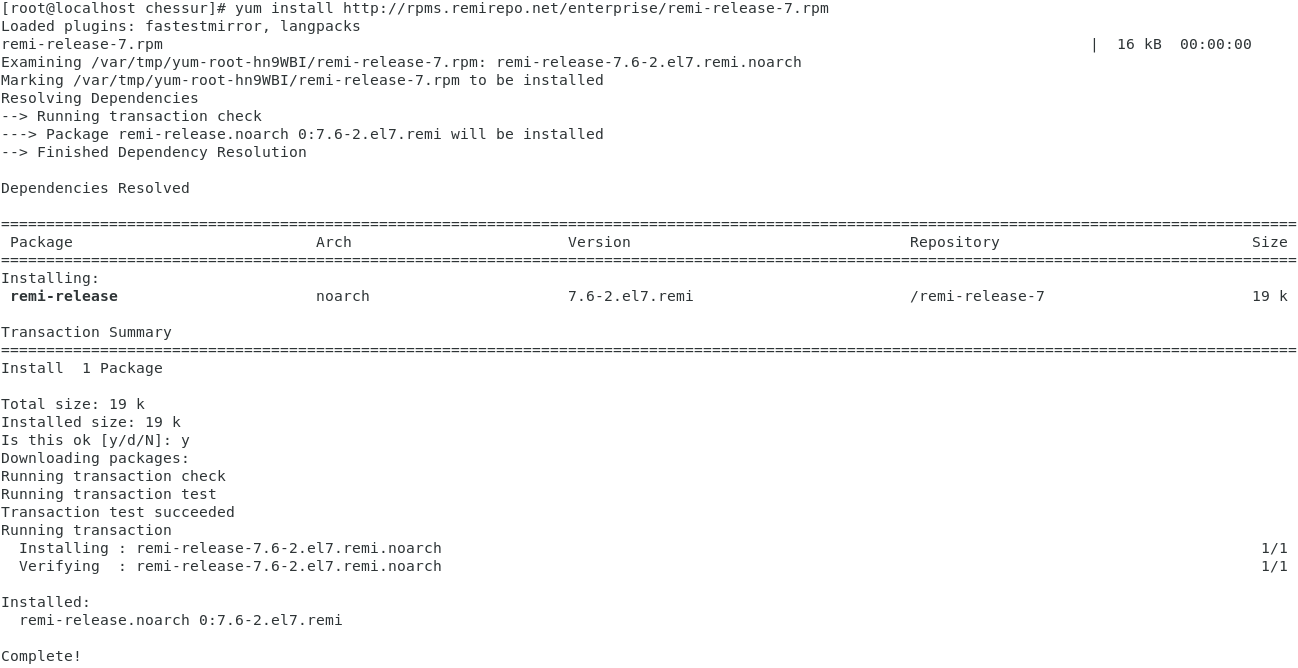
安装remi源
1 | yum install http://rpms.remirepo.net/enterprise/remi-release-7.rpm |
remi源保证了软件的最新版
添加完源之后,使用yum update更新一下
安装Yum-utils,协助管理Yum
1 | yum install yum-utils |
提示已经安装过了
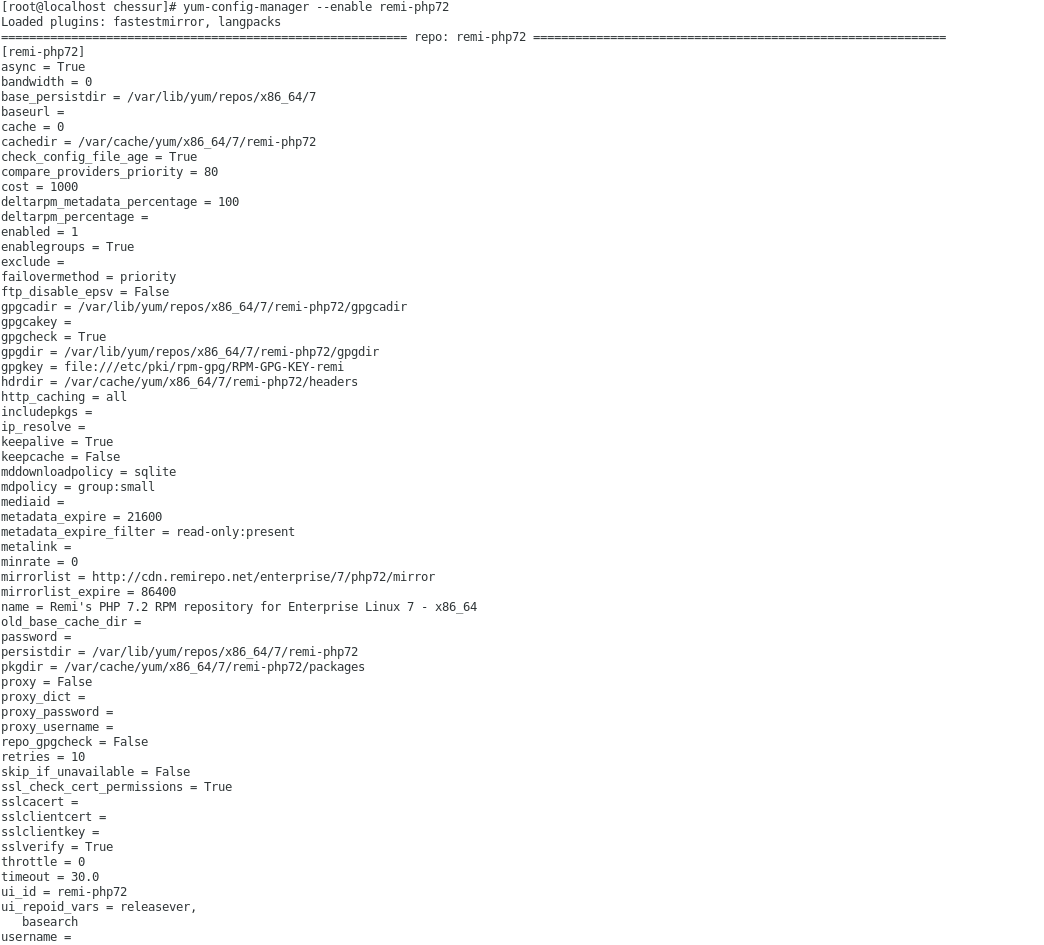
激活remi库
1 | yum-config-manager --enable remi-php72 |

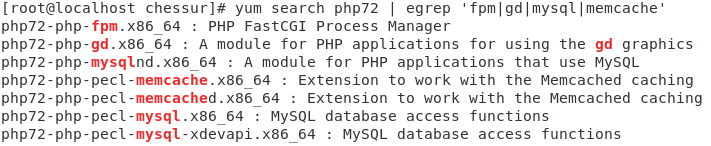
查找Yum源中php 7.2的扩展
1 | yum search php72 | more #用more显示 |
安装php 7.2
1 | yum install php72 |

确认php安装是否正确
1 | php72 --version |

安装php 7.2扩展
1 | yum install php72-php-fpm php72-php-gd php72-php-json php72-php-mbstring php72-php-mysqlnd php72-php-xml php72-php-xmlrpc php72-php-opcache |

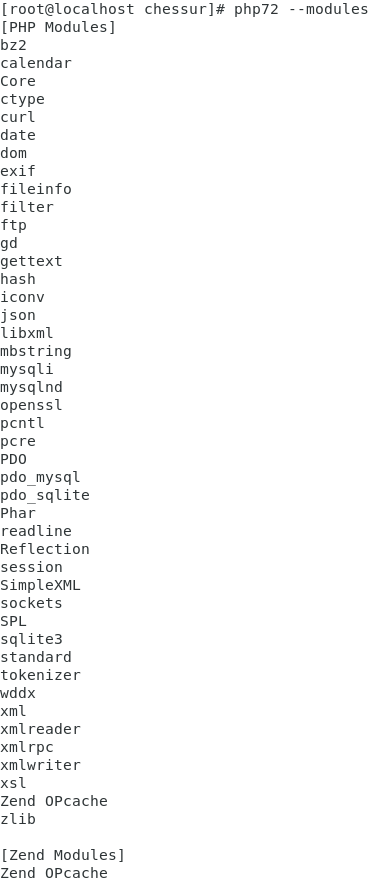
查看php模块
1 | php72 --modules |
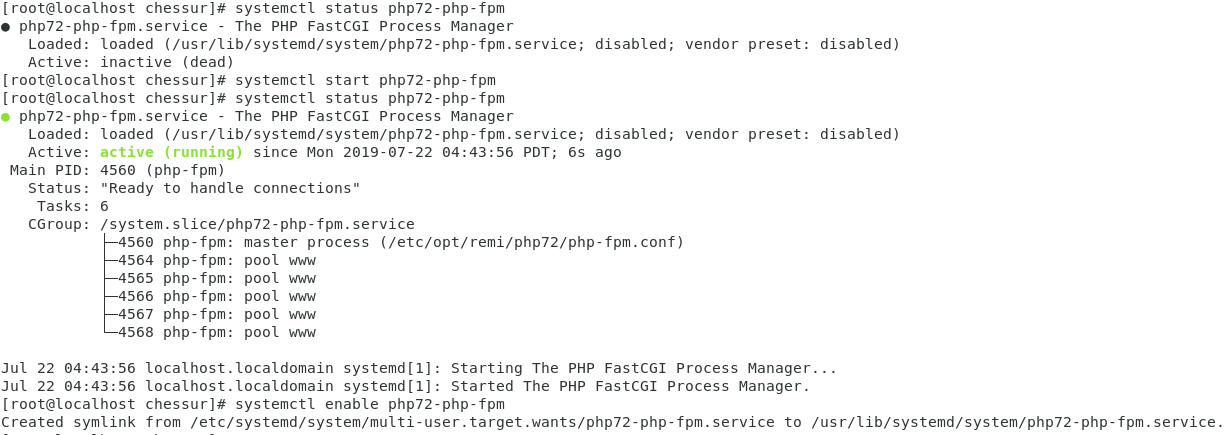
开启php-fpm
1 | systemctl status php72-php-fpm |
2.2配置Nginx
查询Nginx的用户和用户组
1 | egrep '^(user|group)' /etc/nginx/nginx.conf |

修改php-fpm配置文件,设置用户为Nginx
1 | vi /etc/opt/remi/php72/php-fpm.d/www.conf |

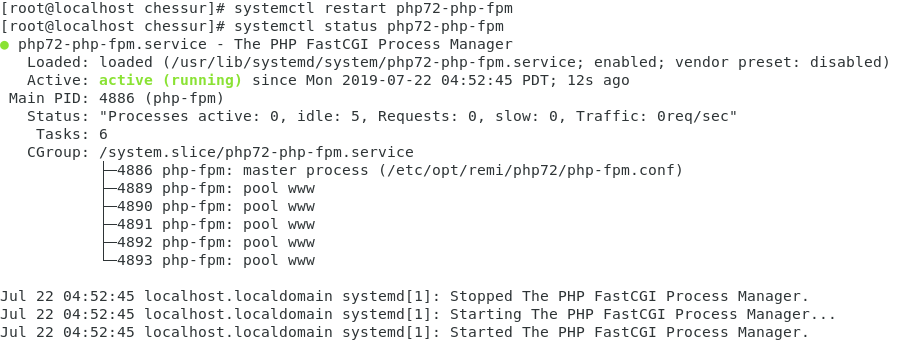
保存修改,重启php-fpm服务
1 | systemctl restart php72-php-fpm |
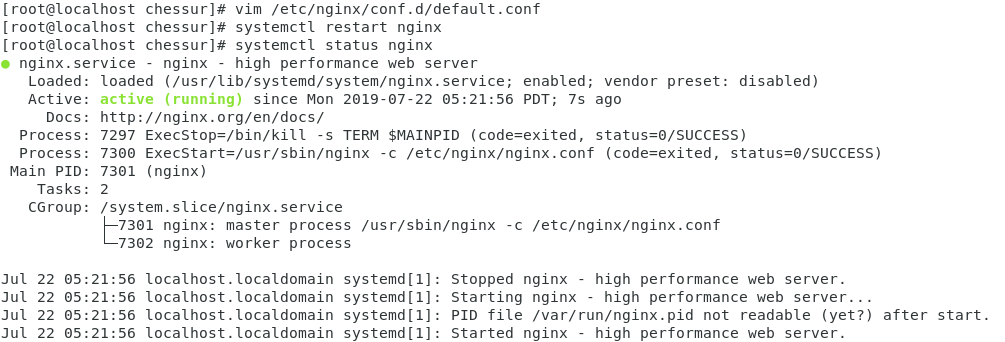
修改Nginx配置文件
1 | vim /etc/nginx/conf.d/default.conf |

保存修改,重启Nginx服务
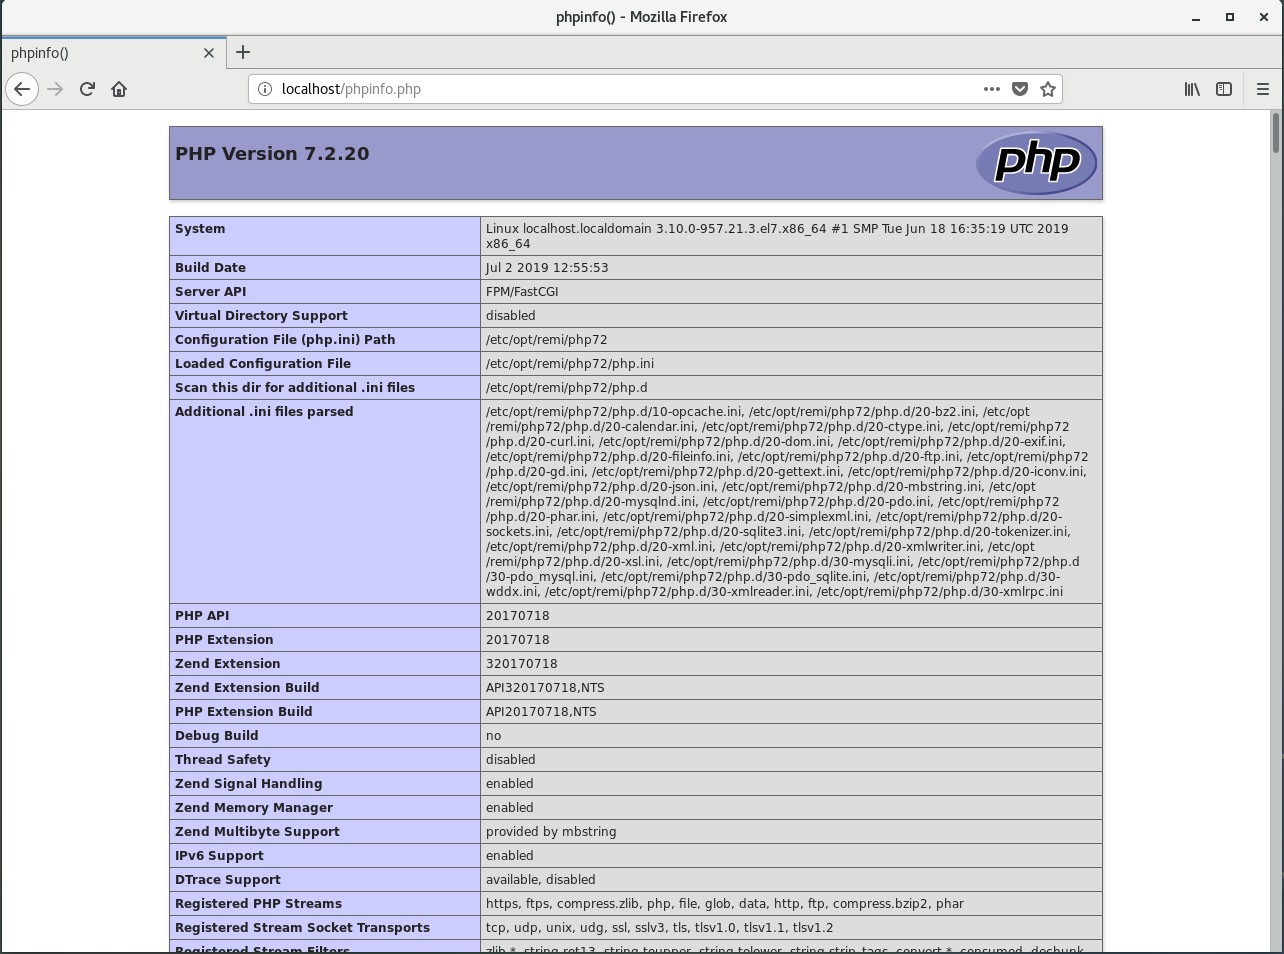
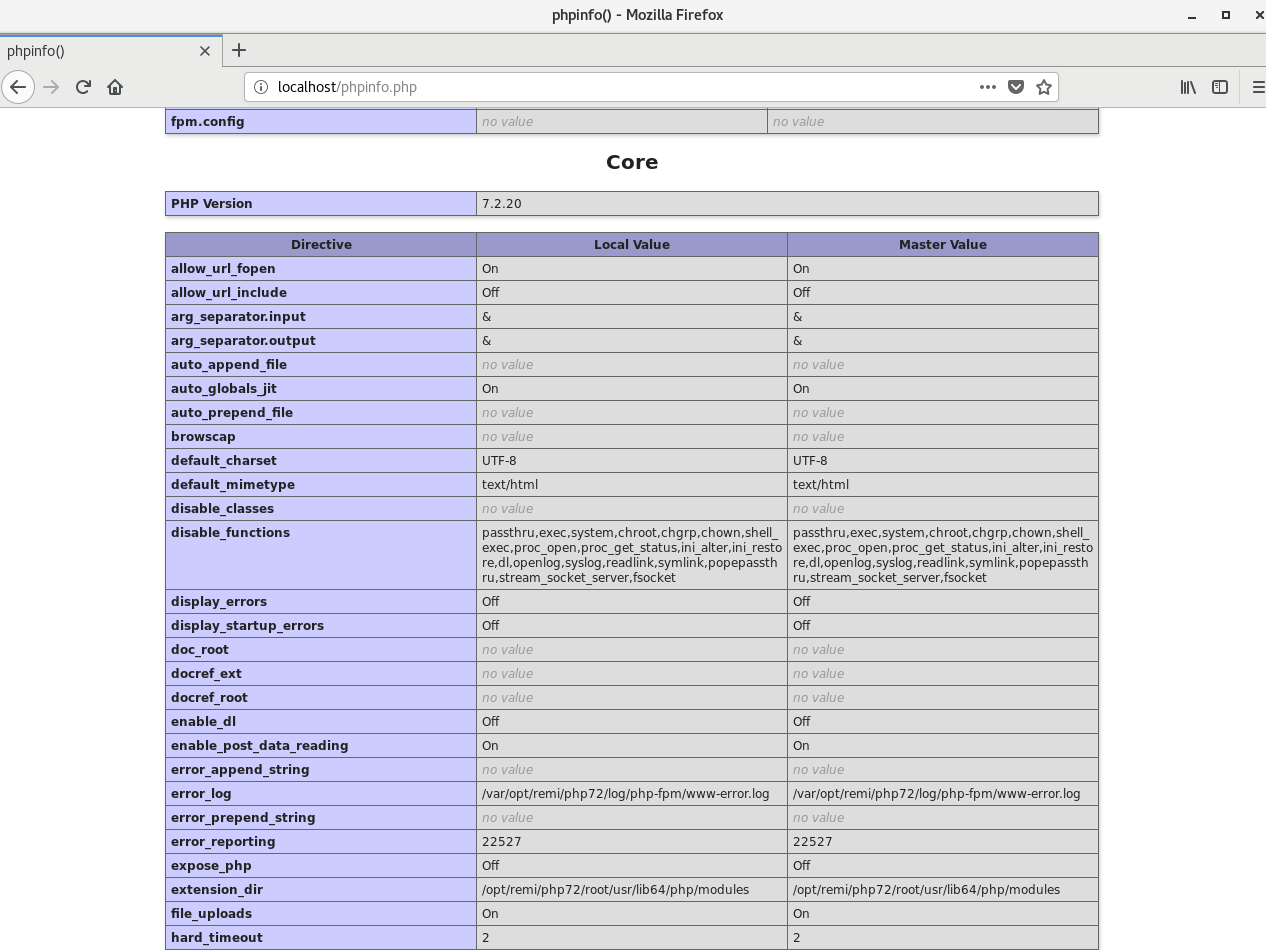
创建一个测试页面phpinfo.php
1 | touch /usr/share/nginx/html/phpinfo.php |
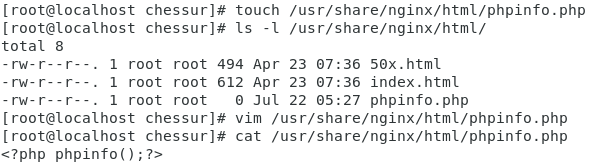
浏览器访问http://localhost/phpinfo.php
CentOS 7 开启80端口
1 | firewall-cmd --zone=public --add-port=80/tcp --permanent |
参考:
[1] How to install PHP 7.2 on CentOS 7/RHEL 7
3.安装Mariadb
Mariadb是MySQL的分支,在Oracle收购了MySQL后,MySQL有闭源的潜在风险,因此社区采用分支的方式避免MySQL闭源。MariaDB完全兼容MySQL
CentOS7自带了MariaDB,可以卸载了重新安装
1 | rpm -qa | grep mariadb |
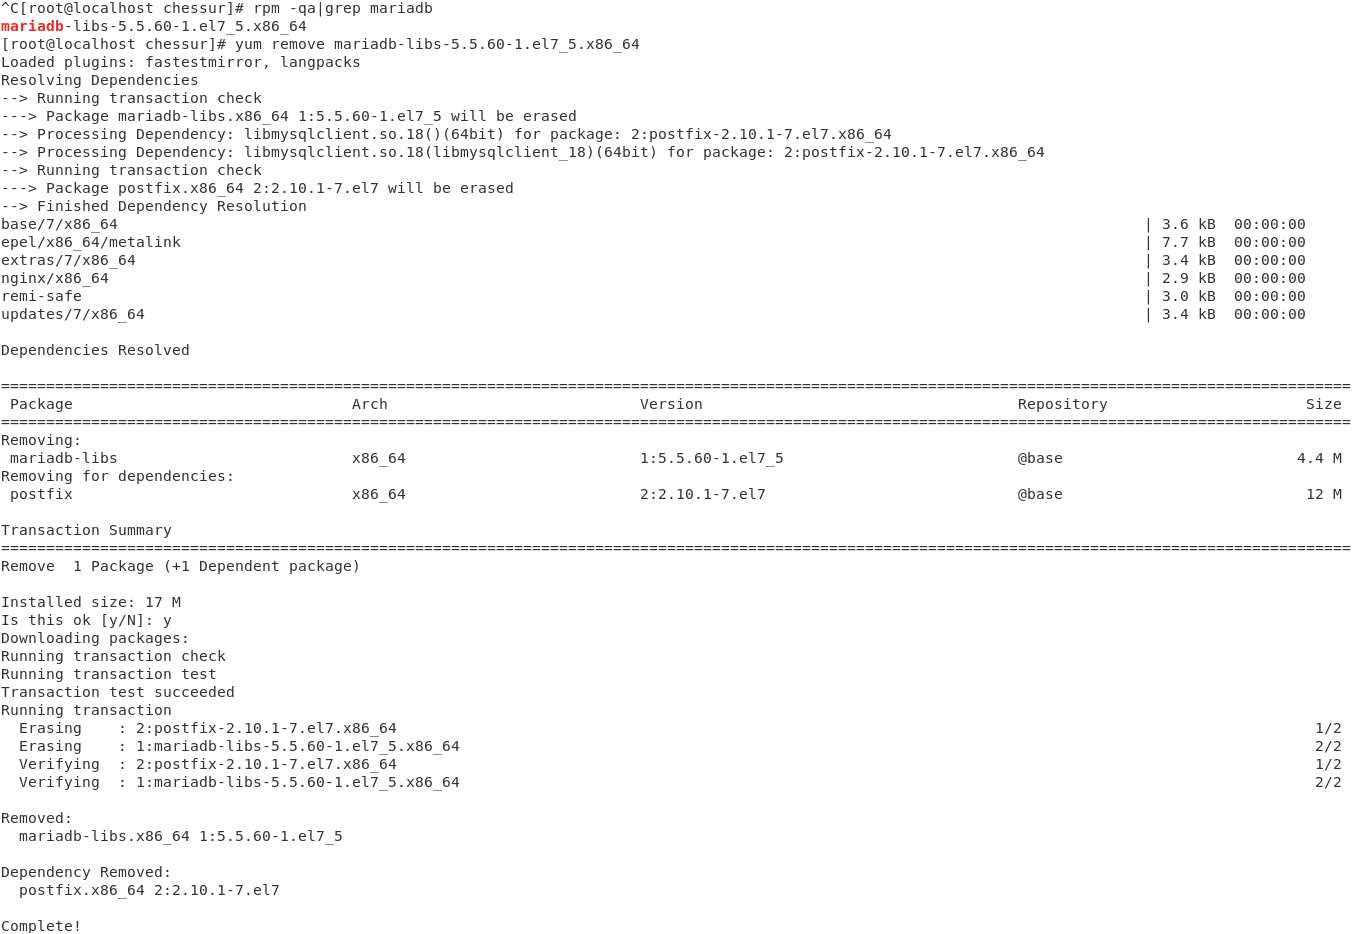
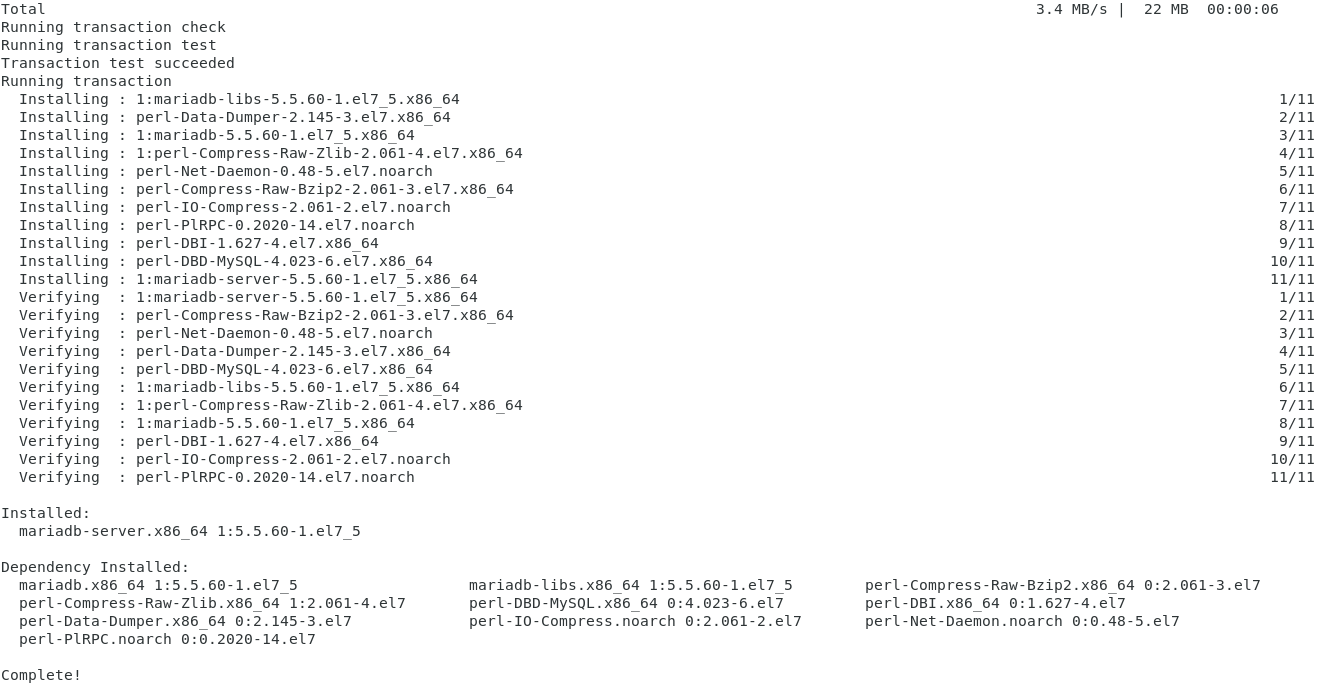
卸载完成之后,使用Yum安装
1 | yum install mariadb-server |
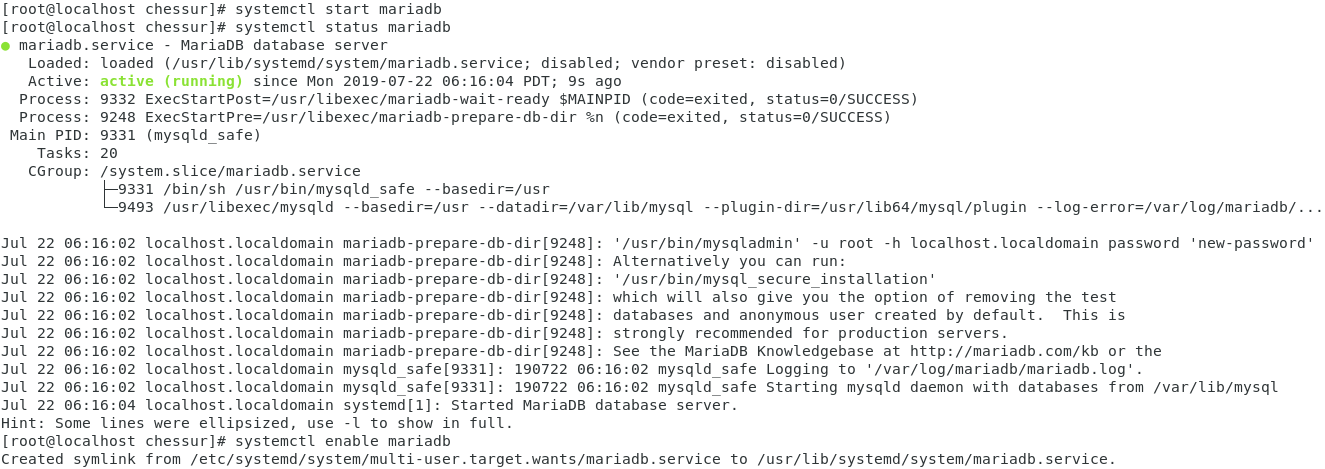
开启Maria DB
1 | systemctl start mariadb |
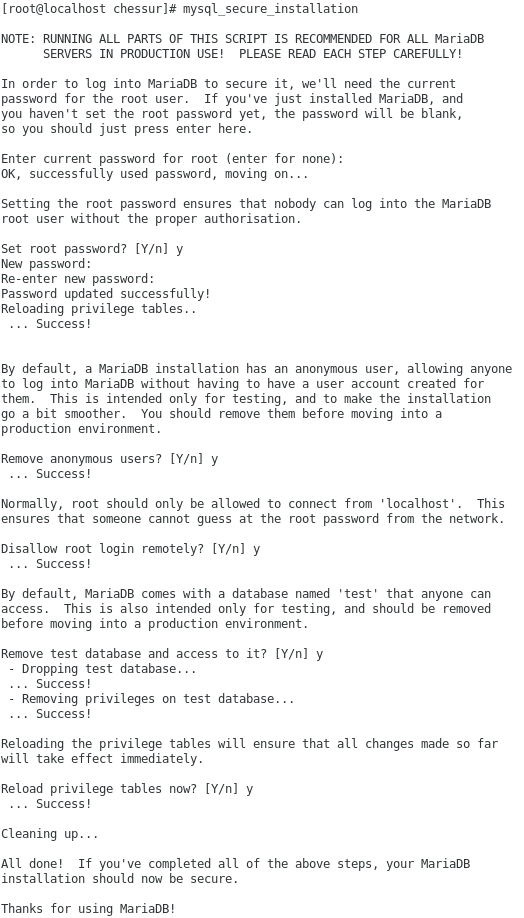
对数据库进行配置
1 | mysql_secure_installation |
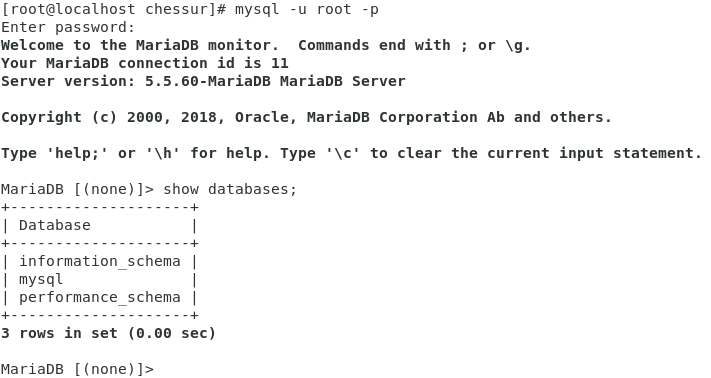
测试登录
1 | mysql -uroot -p |
进入Maria DB界面即安装成功
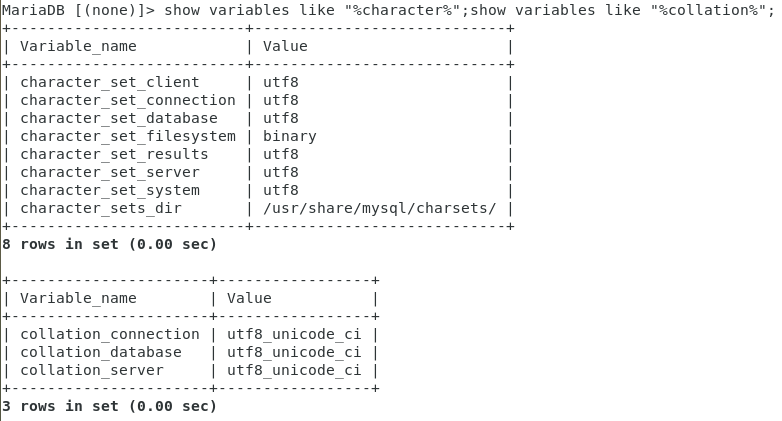
设置Maria DB字符集为utf-8
1 | vim /etc/my.cnf |
1 | vim /etc/my.cnf.d/client.cnf |
1 | vim /etc/my.cnf.d/mysql-clients.cnf |
重启服务
1 | systemctl restart mariadb |
进入Maria DB查看字符集
1 | show variables like "%character%"; |
参考:
[1] centos7 安装Mariadb
4.PHP连接Maria DB
4.1添加数据库
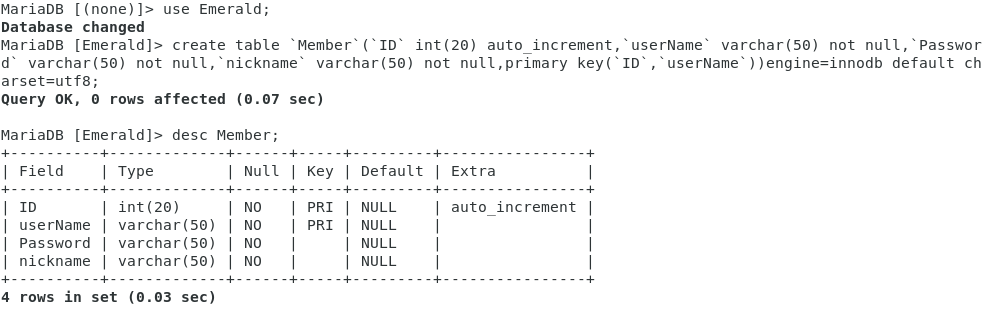
创建一个Emerald数据库
1 | create database Emerald; |
使用Emerald数据库
1 | use Emerald; |
创建Member表
1 | create table `Member`(`ID` int(20) auto_increment,`userName` varchar(50) not null,`Password` varchar(50) not null,`nickname` varchar(50) not null,primary key(`ID`,`userName`))engine=innodb default charset=utf8; |
查看Member表结构
1 | desc Member; |
添加数据
1 | insert into `Member`(userName,Password,nickname) values('chessur','Druid','chessur'); |
查询数据
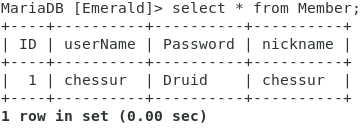
1 | select * from Member; |
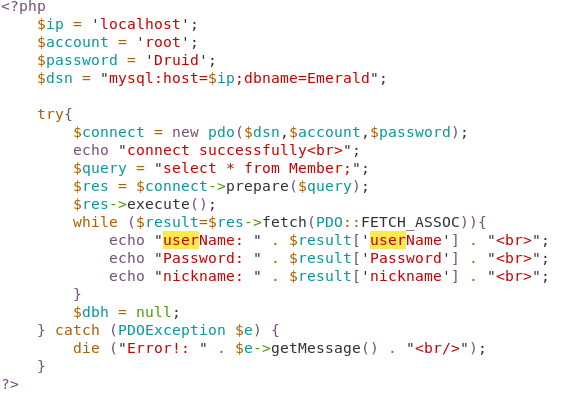
在网站根目录创建一个test.php,测试数据库是否正常使用
1 | touch /usr/share/nginx/html/test.php |
使用PDO连接数据库
1 | <?php |
查看网页是否正常显示数据
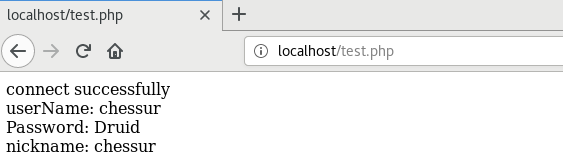
显示数据和数据库中一致,PHP连接Maria DB正常
5.安全加固
5.1Nginx
禁止目录遍历
1 | http{ |
1.16.0默认禁止目录遍历
删除错误信息中的版本信息
1 | http{ |
未修改前
修改后
关闭存放数据上传等目录的PHP解析
1 | server{ |
限制HTTP请求方法
1 | server{ |
1 | server{ |
在Nginx1.9.9上两种方法均可实现,但1.16.0上无法实现
设置timeout来防御DOS攻击
1 | http{ |
设置日志记录文件、记录内容、记录格式
1 | http{ |
Nginx测试配置文件是否正确
1 | nginx -t -c /etc/nginx/nginx.conf |
5.2PHP-fpm
php-fpm.conf配置文件优先级高于php.ini
1 | #php.ini参数设置 |
禁用危险函数
5.3Maria DB
确保运行Maria DB的用户为一般用户,存放数据目录权限为mysql
1 | vim /etc/my.cnf |
开启Maria DB二进制日志,在误删除数据的情况下,可以通过二进制日志恢复到某个时间点
1 | vim /etc/my.cnf |
禁止root账号远程访问,root账号只允许来自本地主机的登录
1 | MariaDB>grant all privileges on *.* to root@localhost identified by 'password' with grant option; |
删除匿名账号和空口令账号
1 | MariaDB>use mysql; |
设置活动目录
1 | secure-file-priv=NULL |
为null时,不允许导入导出
指定文件夹时,只能导入导出到指定文件夹
为空时,没有任何限制